Resources
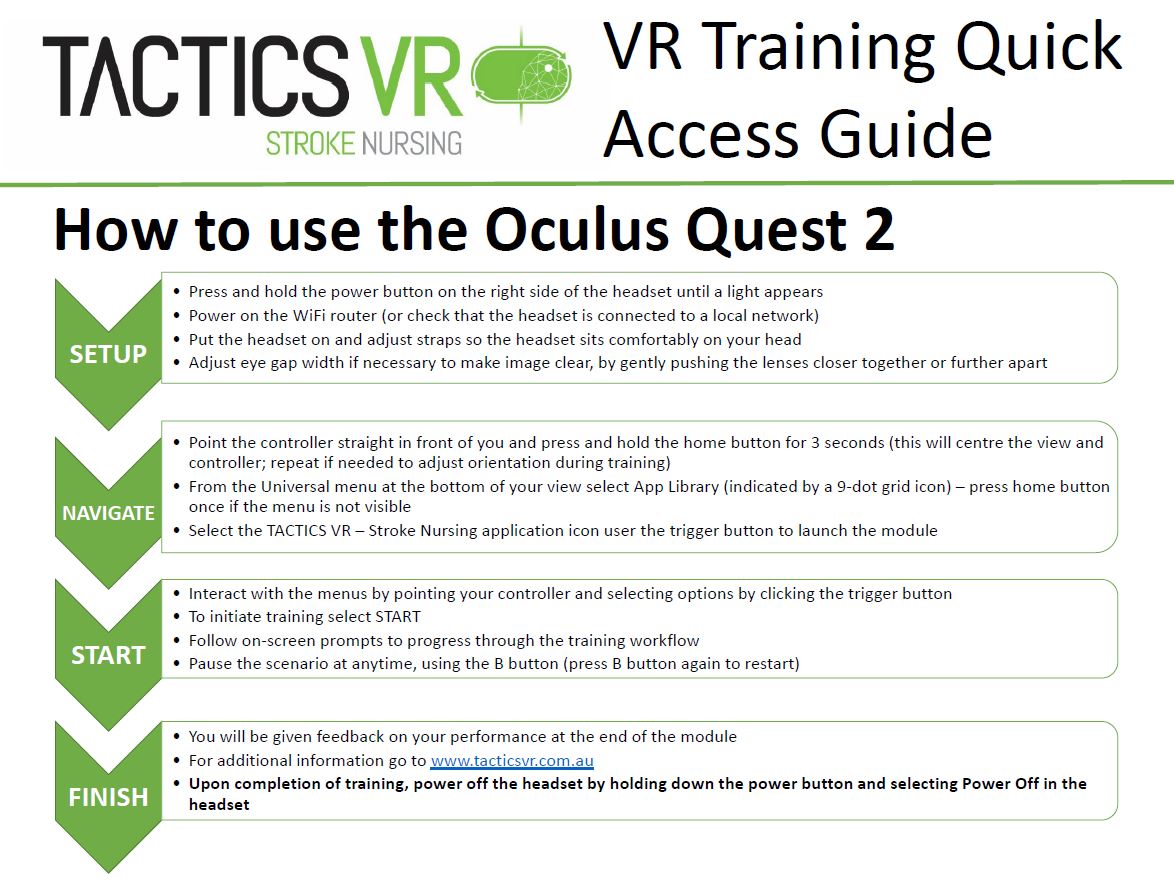
How to use the Oculus Quest 2
Setup
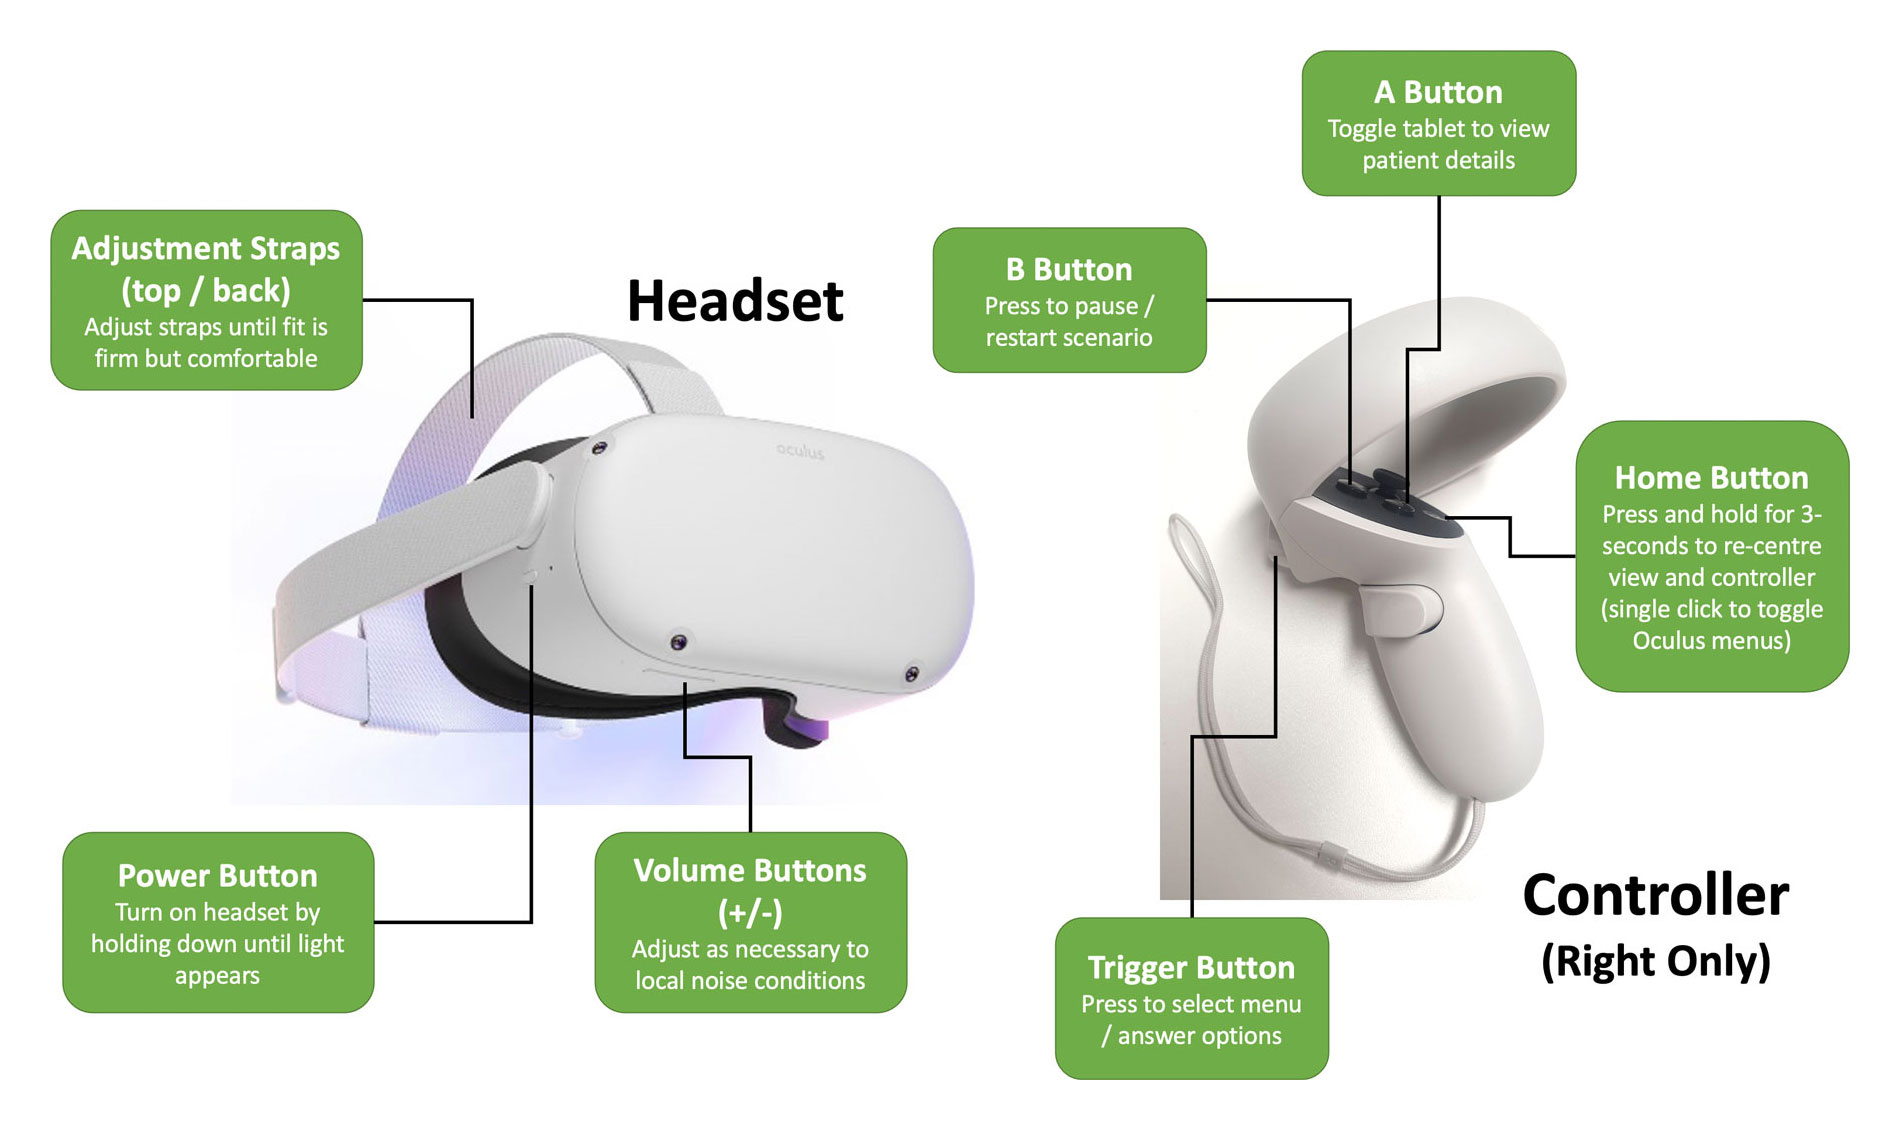
- Press and hold the power button on the right side of the headset until the light appears
- Power on the WiFi router (or check that the headset is connected to a local network)
- Put the headset on and adjust straps so the headset sits comfortably on your head
- Adjust eye gap width if necessary to make image clear, by gently pushing the lenses closer or further apart
Navigate
- Point the controller straight in front of you and press and hold the home button for 3 seconds (this will centre the view and controller; repeat if needed to adjust position in virtual environment during training)
- From the Universal menu at the bottom of your view select App Library (indicated by a 9-dot grid icon) – press home button once if the menu is not visible
- Select the TACTICS VR application icon to launch the module, using the trigger button
Start
- Interact with the menus by pointing your controller and selecting options by clicking the trigger button
- To initiate training, select START
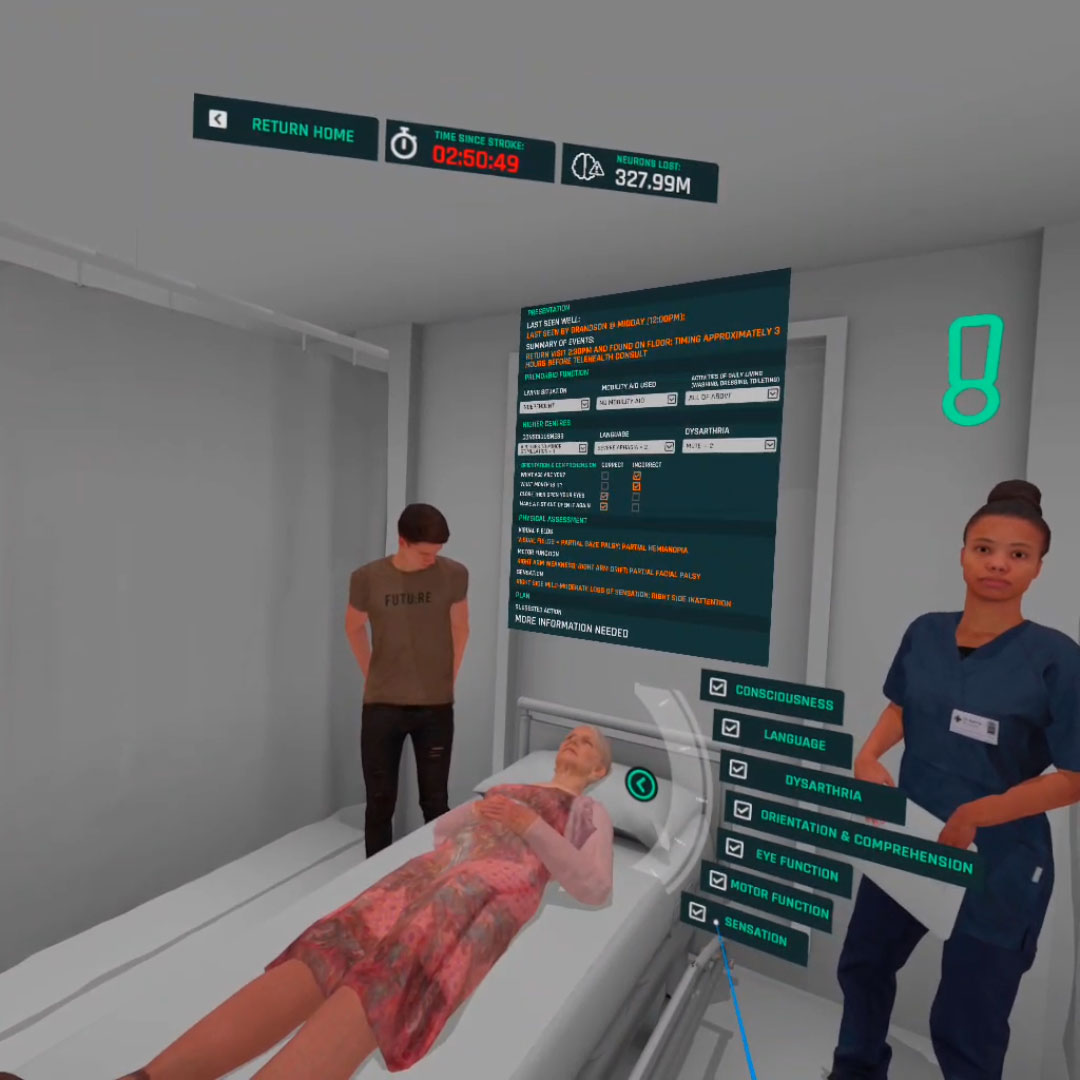
- Follow on-screen prompts to progress through the training workflow
- Pause the scenario at anytime, using the B button (press B button again to restart)
Finish
- You will be given feedback on your performance at the end of the module
- For additional information go to tacticsvr.com.au
- Upon completion of training, power off the headset by holding down the power button and selecting Power Off in the headset

